Vinyl decals are recommended for installation on a hard, smooth non porous surface only!
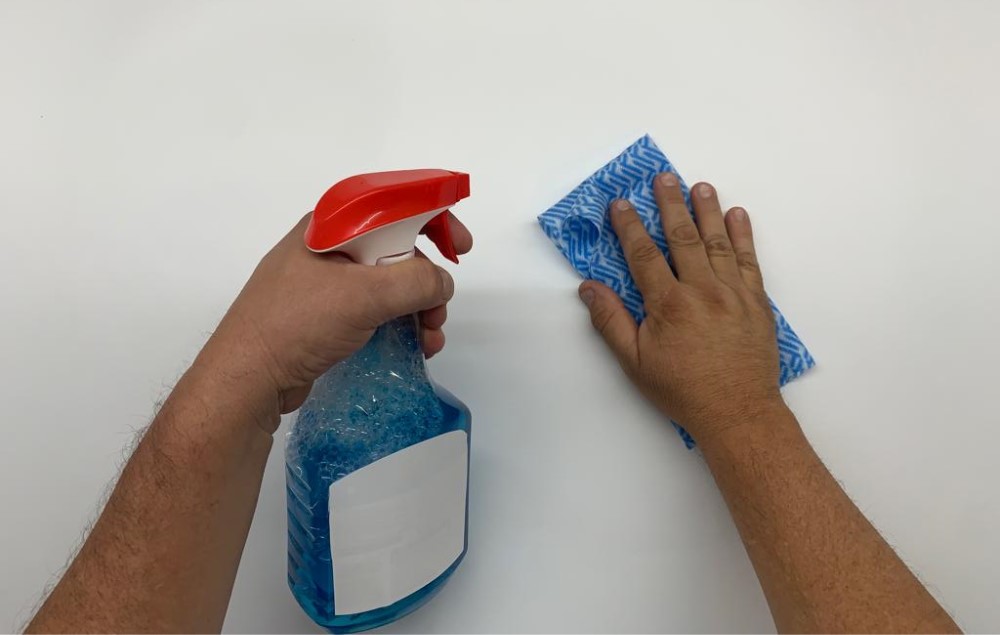
1- Clean Surface Area To ensure the proper adhesion of your decal make sure to wipe it down any dirt, dust or oils. If you apply any liquid cleaners make sure the area is dry before placing the decal on top of it.
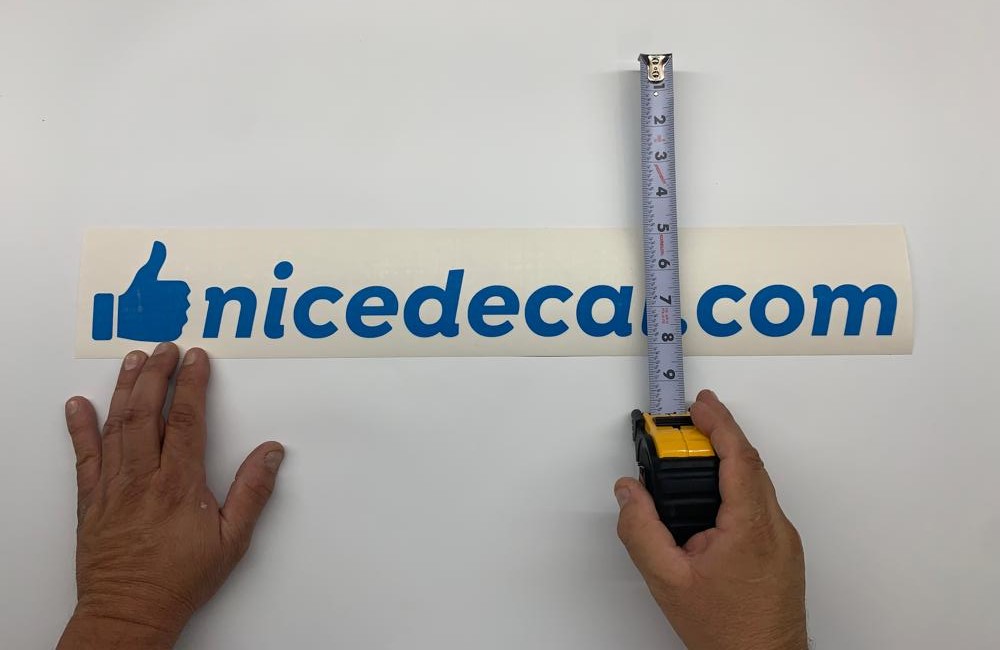
2- Measure & Align Have a couple of peace of tape all ready cut, place the decal on the surface and align it to you liking, before you add the tape (next step).
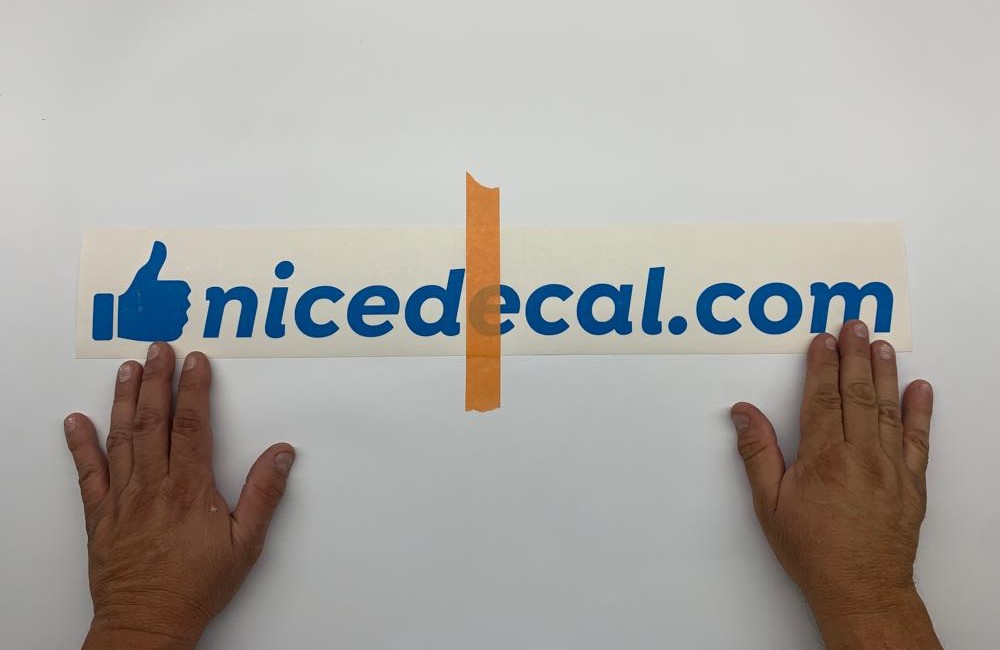
3- Tape Decal Down The Center This installation method makes the decal easy to apply by seperating the process into two parts. Simply tape down the center of the decal and proceed to the next step in the installation process.
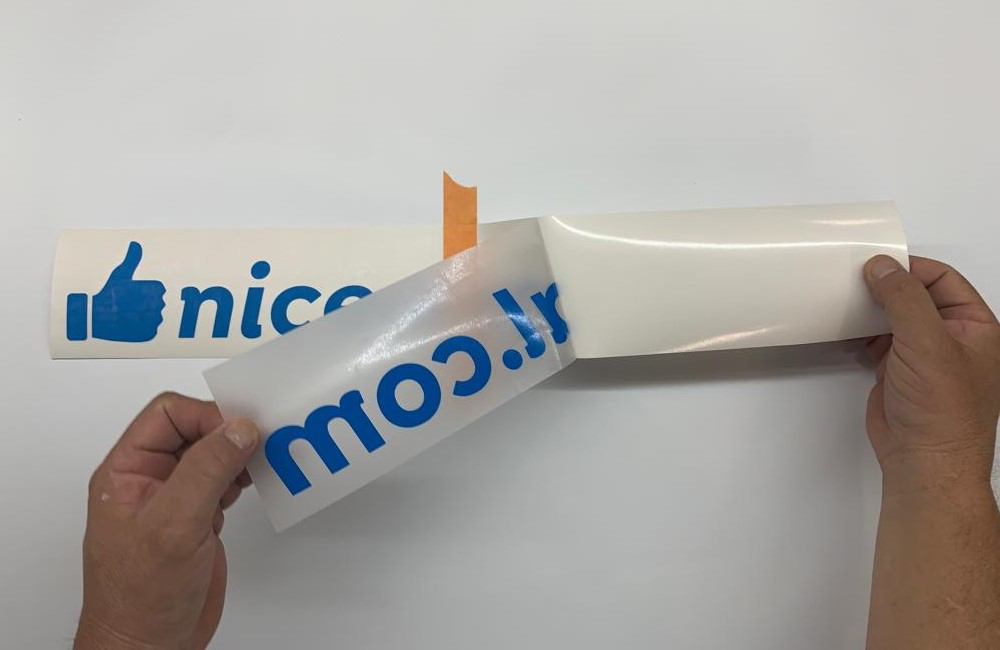
4- Peel off Backing Paper Starting on one of the sides carefully separate the first half the backing paper from the decal.
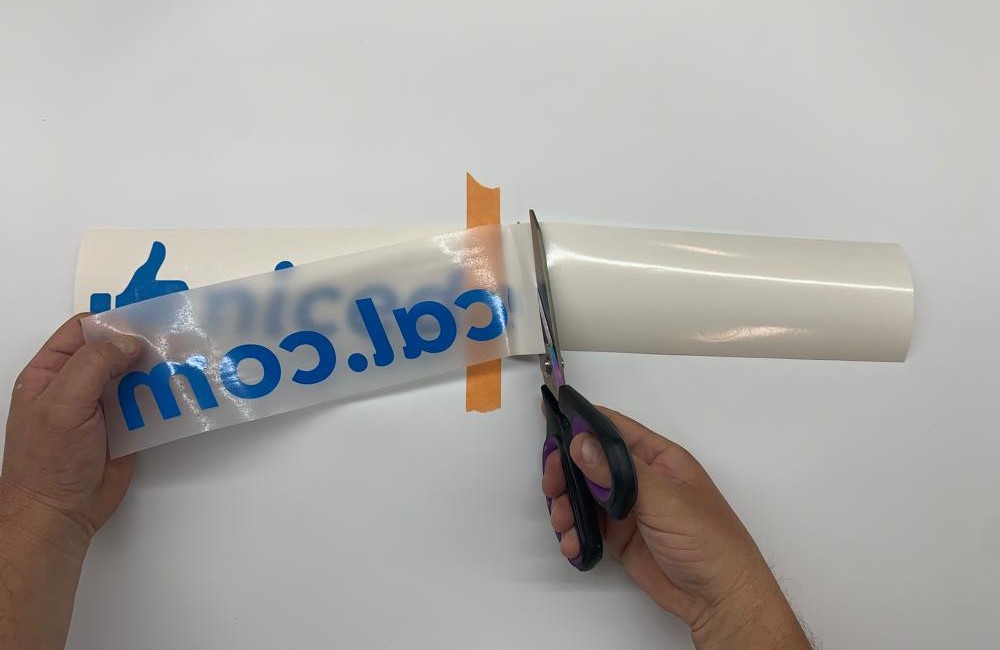
5- Cut The Backing Paper Once the design is carefully lifted into the transfer you may cut the backing paper.
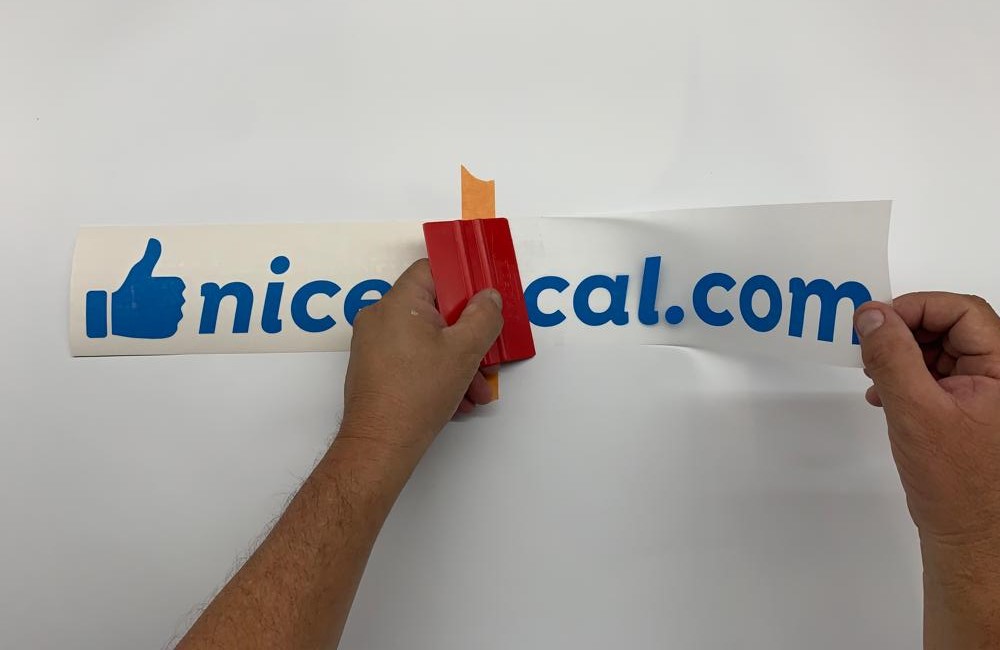
6- Squeegee On To Surface Whit a squeegee or a credit card apply pressure to the decal so the design sticks when the transfer is lifted.
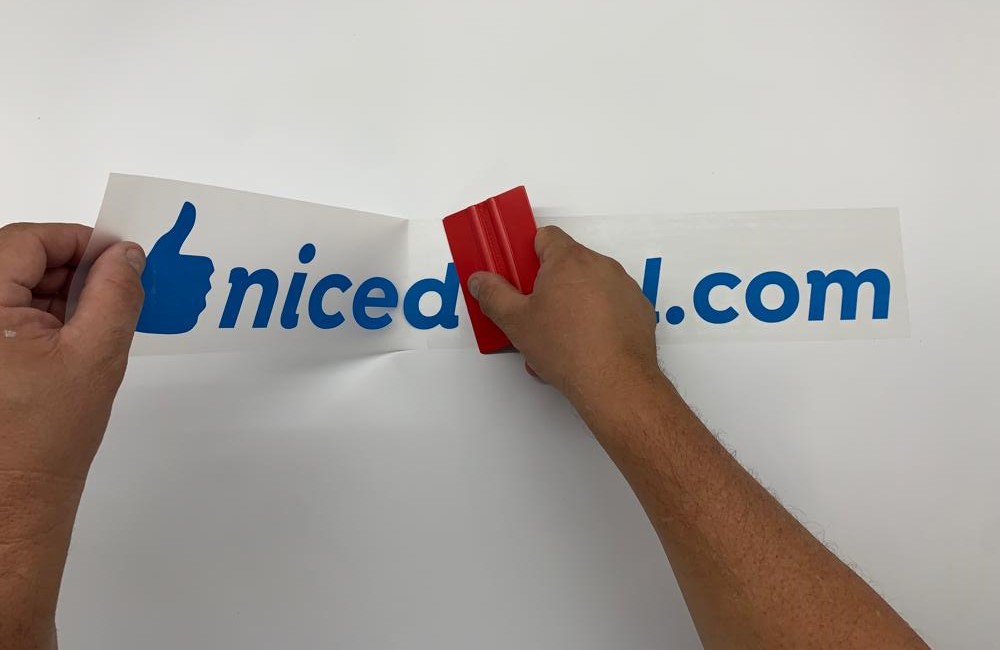
7- Repeat On Other Side Remove tape from the center and repeat steps 4-5-6 on the other side.
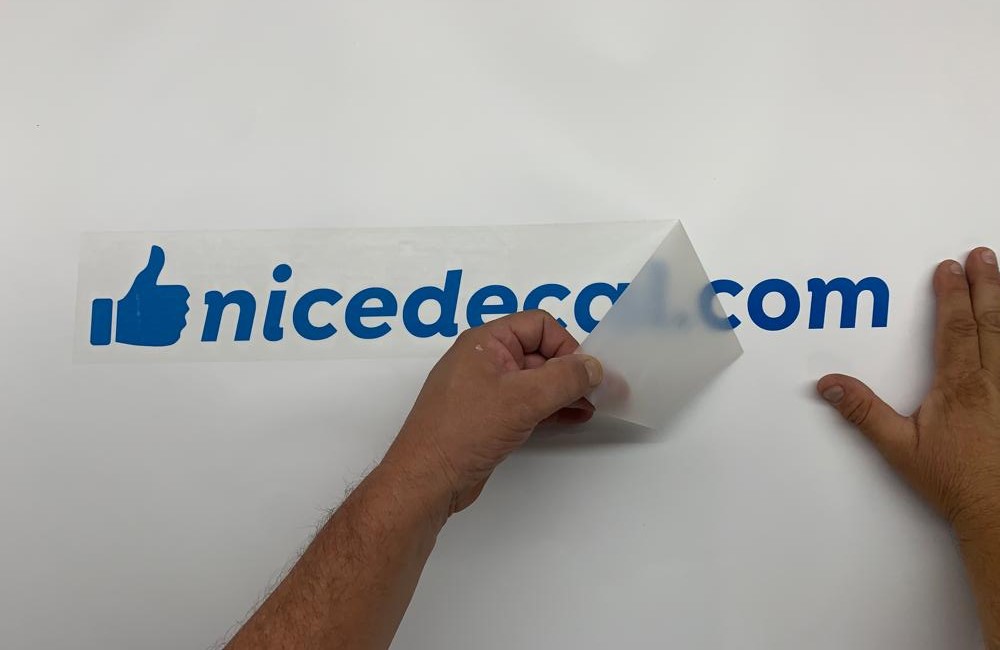
8- REMOVE TRANSFER TAPE
Lift one of the corners of the transfer tape (the clear tape on top of the decal) and gently peel it in a 45 degree angle until it is completely removed.
Congratulations you did it!!! But if you still have any questions or need help installing your new decal, give us a call. We are ready to help you succeed.